
Our design specifications are here to help you get the best results from your 3D print. By following these guidelines, you can improve print quality, reduce costs, and ensure your parts perform as intended.
Having the quantity required at the beginning of your filename is a huge help. For example “x3_EndcapSmal_v4_M2”
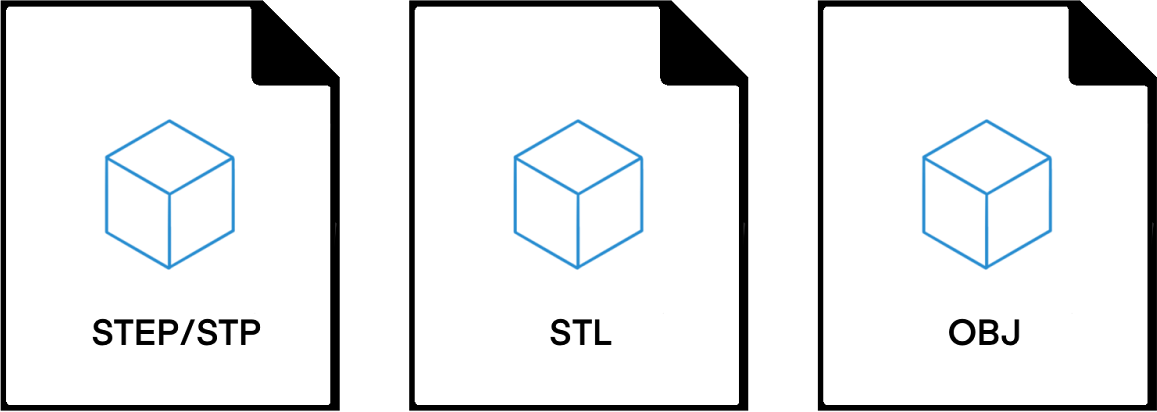
We can accept various file types, but STP and STL are preferred. For printing your part, an STL file is necessary. If you’re using CAD software, STP files can be converted into high-resolution STL’s for optimal surface quality and accuracy.
For sculpting software such as Blender or ZBrush, either STL or OBJ formats are suitable, but make sure to add a sizing cube in your file, as these tools may export models with unpredictable sizes.
While we can help repair broken models, success is not always assured. Therefore, it’s important to familiarise yourself with the requirements for a printable model. Typical challenges include open boundaries, non-manifold edges, and intersecting geometries, which can prevent the model from being printable.
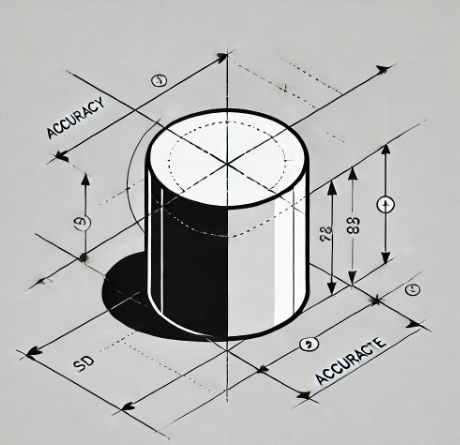

While industrial SLA printers offer excellent accuracy, it’s important to recognize that, like any manufacturing method, there are technology-specific tolerances. Typically, parts smaller than 100 mm³ will be produced within a tolerance of ±0.1 mm, whereas larger geometries may fall within a tolerance range of ±0.2 to ±0.5 mm.
Limit: +/-0.05mm
Typical: +/-0.1mm
Large geometries: +/-0.2-0.5mm
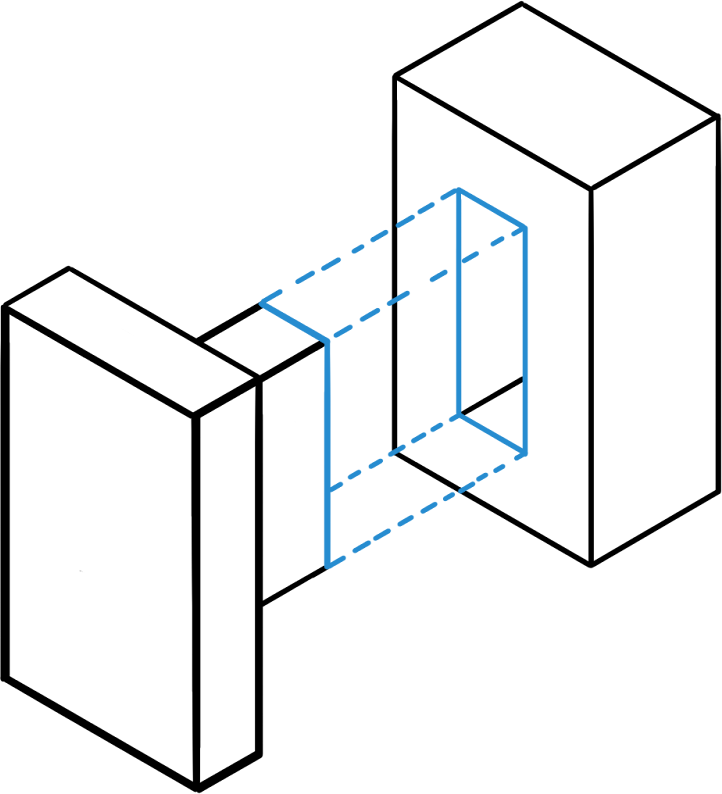
For parts intended to be assembled post-printing. As a general rule of thumb these overall clearances are a good start, 0.1mm for a tight fit, 0.2mm for a slide fit, 0.3mm for a looser fit.
Tight fit: 0.1mm
Slide fit: 0.2mm
Looser fit: 0.3mm
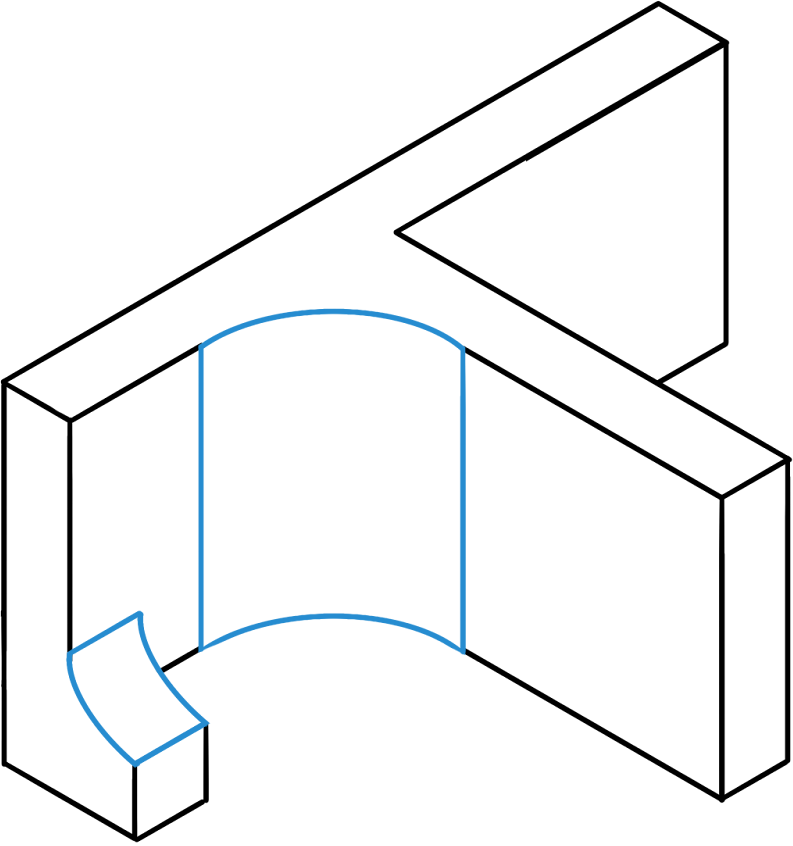
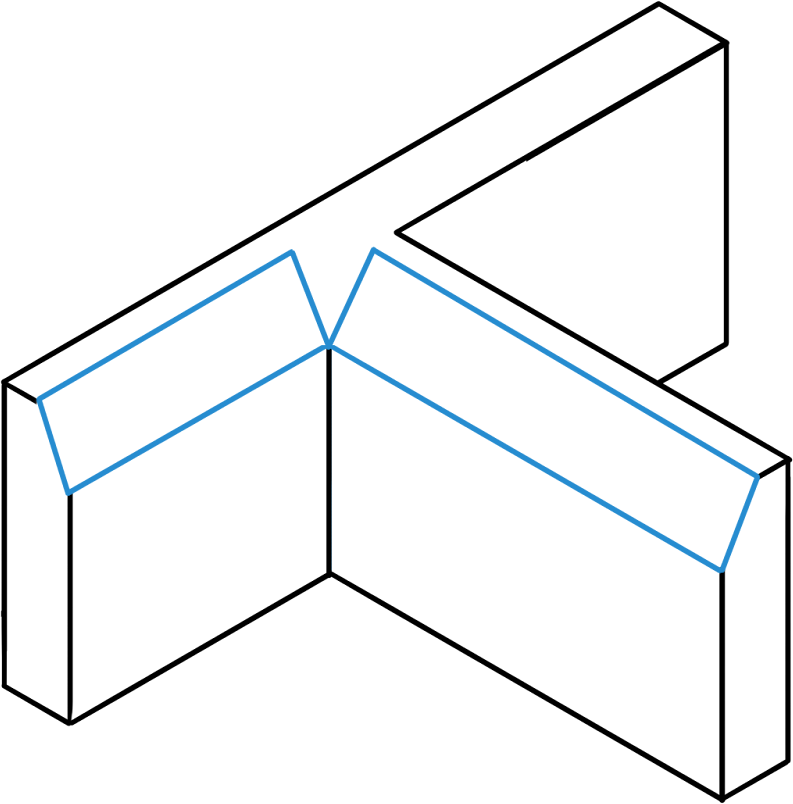
Implementing radii and to a lesser extent chamfers to corners in designs is important for multiple reasons, including better structural integrity and enhanced visual appeal. Rounded corners aid in even distribution of shrinkage and stress, thereby reducing the chances of shrink lines during printing and boosting the part’s functional strength by distributing loads more effectively.
It is recommended to radius inside corners to the thickest wall; for example, a 2mm wall adjoining a 3mm wall should have a 3mm radius.
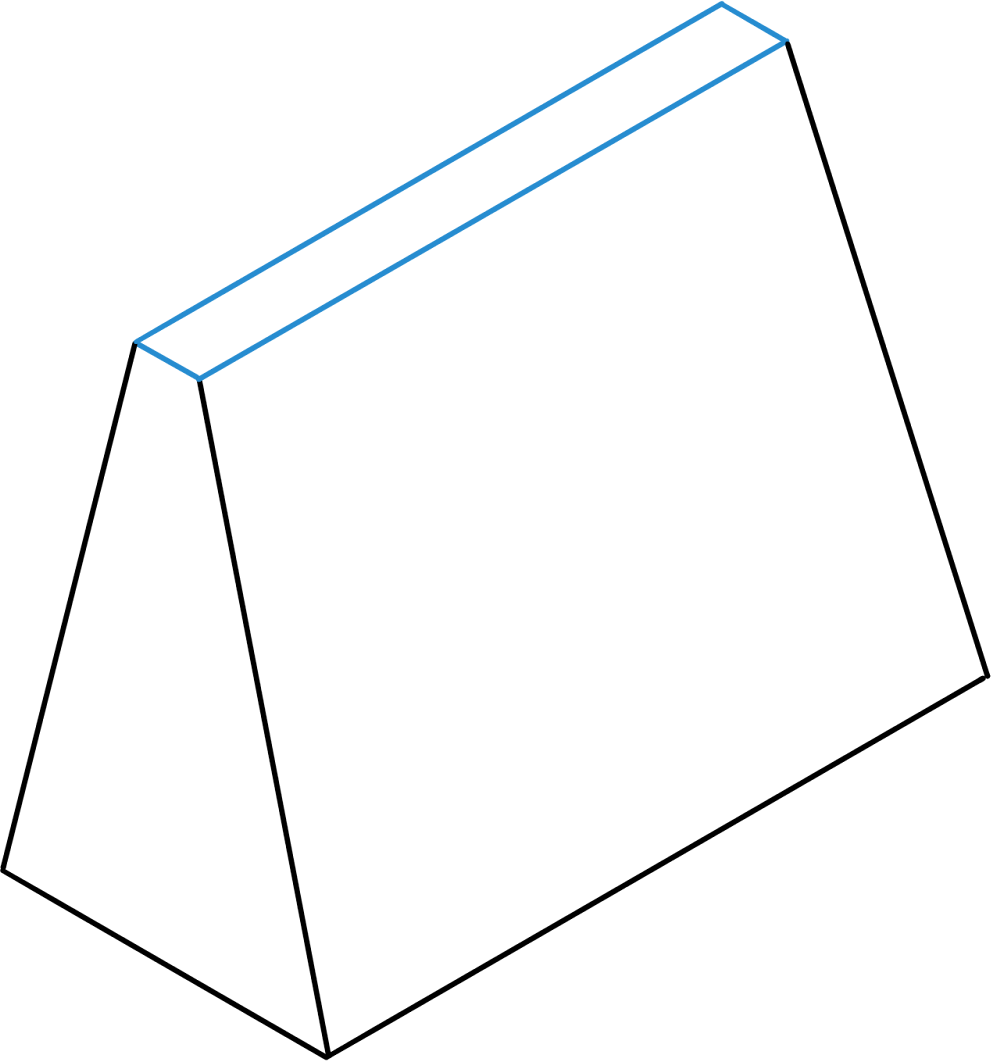
While Industrial SLA can achieve sharp edges and points depending on the print orientation, it is strongly recommended to avoid tapering to zero thickness. Thin edges are vulnerable to damage, so rounding them to at least 0.5mm is suggested to enhance their printability, strength and resilience.
Limit: 0.2mm
Recommended: 0.5mm
If absolutely necessary, we can print with some sharp points or edges facing downward. However, it’s advised to avoid this if possible to ensure a reliable print and the best possible outcome. Adding a radius to round off a downward facing edge or point is also highly advised.
The point or edge should maintain a minimum thickness and radius of 0.5mm for every 5mm of length. For instance, a 15mm long downward-facing extrusion tapering to a point should feature a 1.5mm radius at the tip.
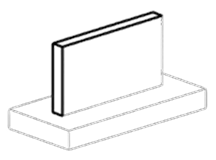
Generally, a minimum wall thickness of 1mm is recommended to provide sufficient structural integrity while allowing for accurate details. Thinner walls may lead to potential issues such as warping or breakage, especially for larger parts. However, for bottles and containers with small or intricate designs, walls can be reduced to around 0.8mm, as long as the overall geometry supports it.
Limit: 0.4mm
Bottles and containers: 0.8mm Min
Recommended: 1mm
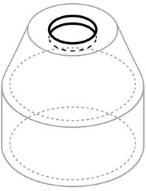
We encourage you to send your model to us before hollowing a part, as there are many considerations. If you have created a hollow section in your part, please let us know, as we need to either add drain holes or advise you on where to position them. Proper drain hole placement and size are vital for safely removing all resin during SLA post-processing.
Minimum wall thickness:
Small <100mm3: 1mm
Medium 200mm3: 2mm
Large 300 to 600mm: 2.5-3mm
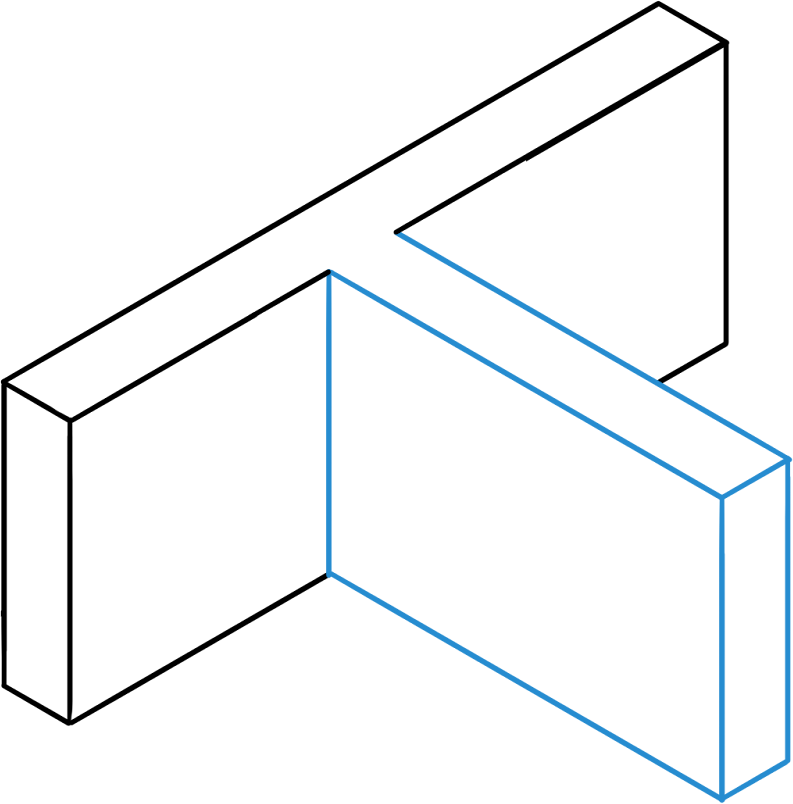
To reduce the risk of shrink lines and wall deformation in SLA printing, maintaining even wall thicknesses is essential. Thicker walls have more mass and shrink more than thinner walls during printing, which can lead to unwanted artifacts. It’s best to keep adjoining wall thicknesses roughly 50% of each other; for instance, a 2mm wall can connect with a 1mm or 3mm wall, enhancing overall integrity and finish.
Implementing radii and to a lesser extent chamfers to corners in designs is important for multiple reasons, including better structural integrity and enhanced visual appeal. Rounded corners aid in even distribution of shrinkage and stress, thereby reducing the chances of shrink lines during printing and boosting the part’s functional strength by distributing loads more effectively.
It is recommended to radius inside corners to the thickest wall; for example, a 2mm wall adjoining a 3mm wall should have a 3mm radius.
While Industrial SLA can achieve sharp edges and points depending on the print orientation, it is strongly recommended to avoid tapering to zero thickness. Thin edges are vulnerable to damage, so rounding them to at least 0.5mm is suggested to enhance their printability, strength and resilience.
Limit: 0.2mm
Recommended: 0.5mm
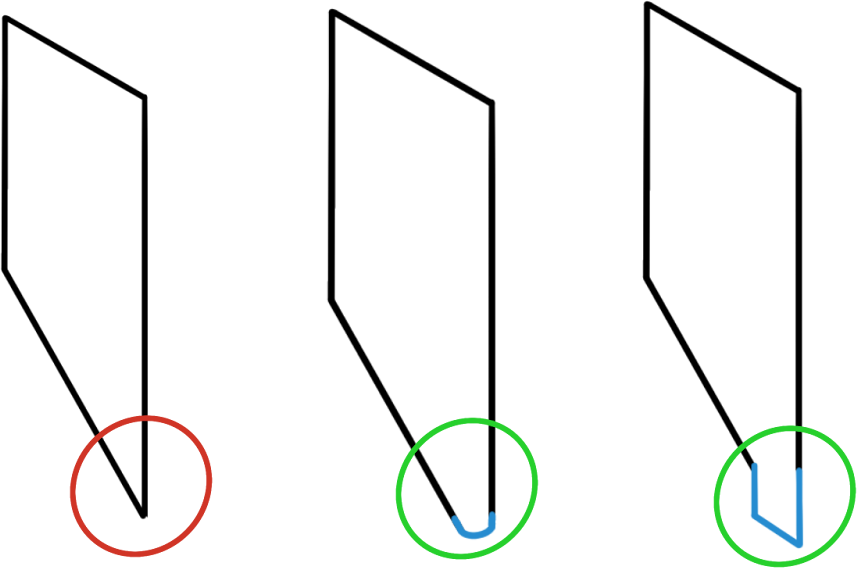
If absolutely necessary, we can print with some sharp points or edges facing downward. However, it’s advised to avoid this if possible to ensure a reliable print and the best possible outcome. Adding a radius to round off a downward facing edge or point is also highly advised.
The point or edge should maintain a minimum thickness and radius of 0.5mm for every 5mm of length. For instance, a 15mm long downward-facing extrusion tapering to a point should feature a 1.5mm radius at the tip.
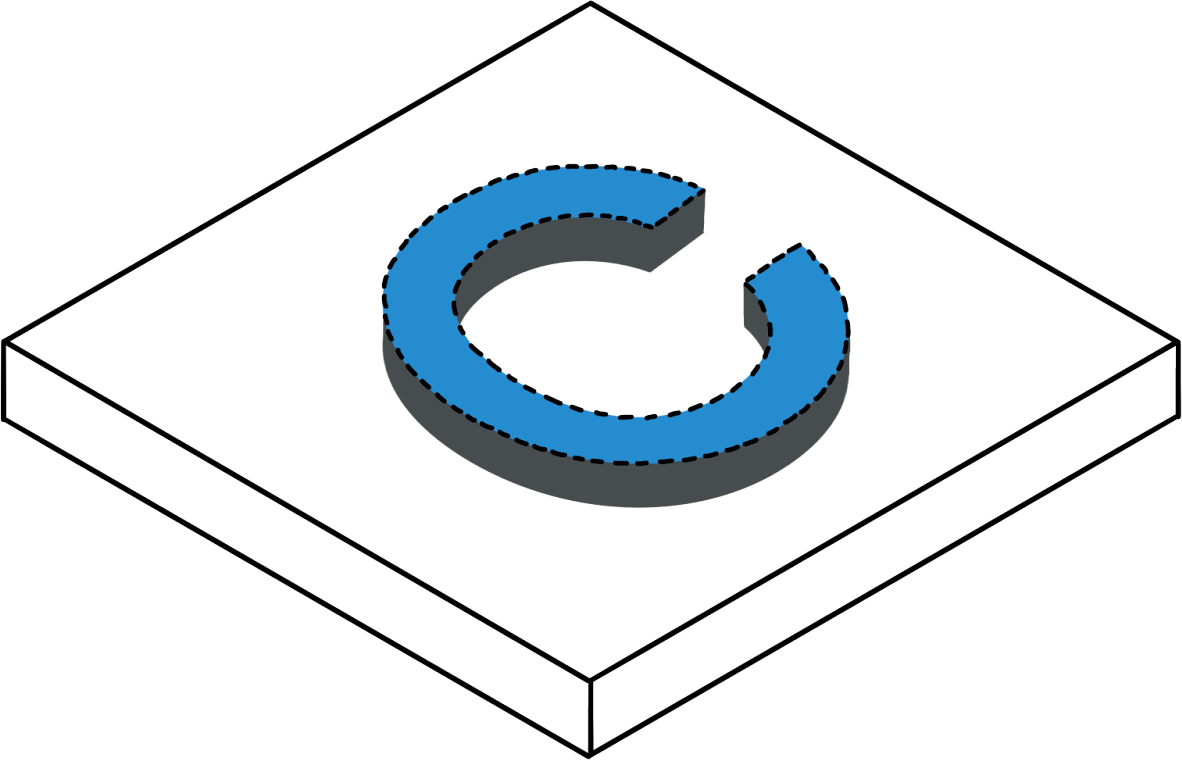
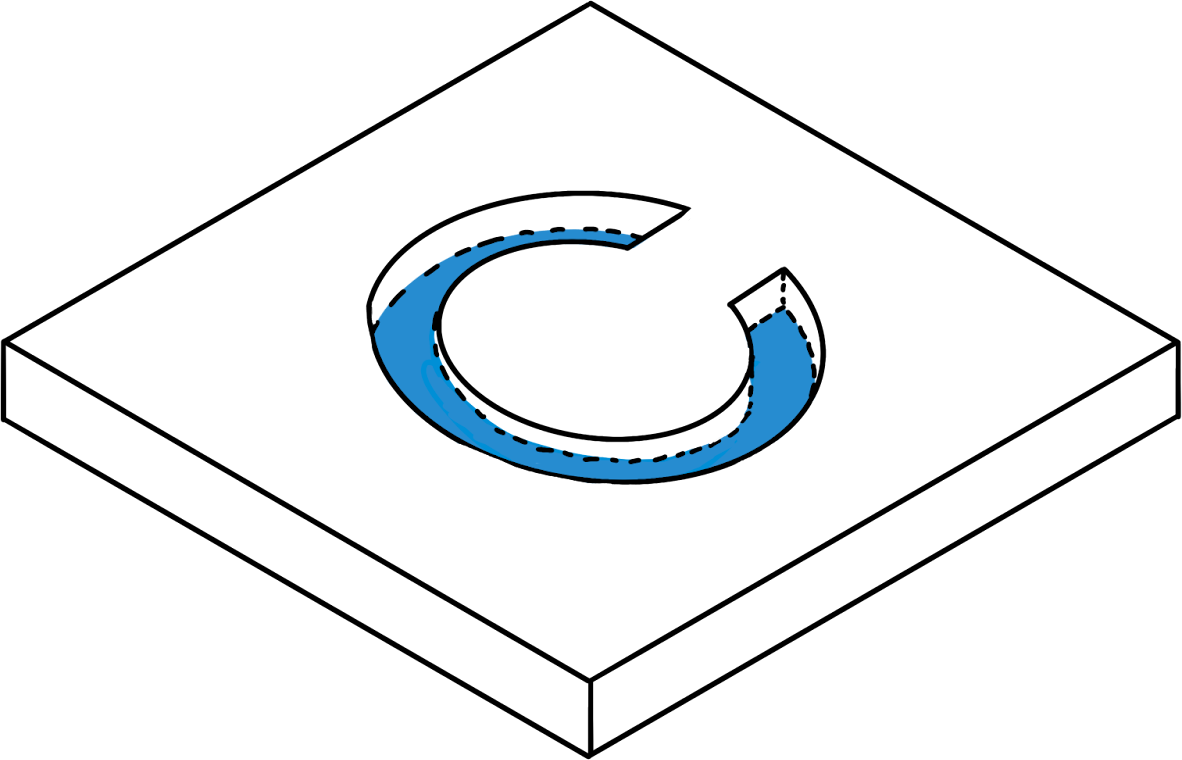
It’s important to consider the distance between engraved letters as well as the line weight of embossed text. 0.3mm wide is the minimum and 0.4mm is preferred.
Limit: 0.3mm line width
Recommended: 0.4mm
Limit: 0.2mm raised or embossed
Recommended: 0.3mm
Lorem ipsum dolor sit amet, consectetur adipiscing elit, sed do eiusmod tempor incididunt ut labore et dolore magna aliqua. Ut enim ad minim veniam, quis nostrud exercitation ullamco laboris nisi ut aliquip ex ea commodo consequat. Duis aute irure dolor in reprehenderit in voluptate velit esse cillum dolore eu fugiat nulla pariatur. Excepteur sint occaecat cupidatat non proident, sunt in culpa qui officia deserunt mollit anim.
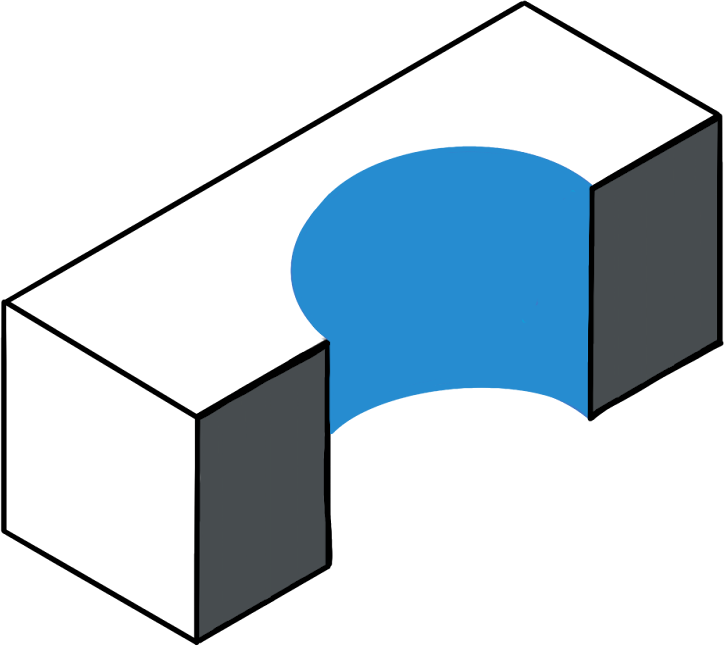
To prevent uncured resin blockages a minimum diameter of 1mm is recommended, with an increase of 0.25mm in diameter for every depth (e.g., a 15mm hole should be at least 1.25mm wide).
Limit: 0.6mm for max 1mm length
Minimum: 1mm, Add 0.25mm per 15mm length
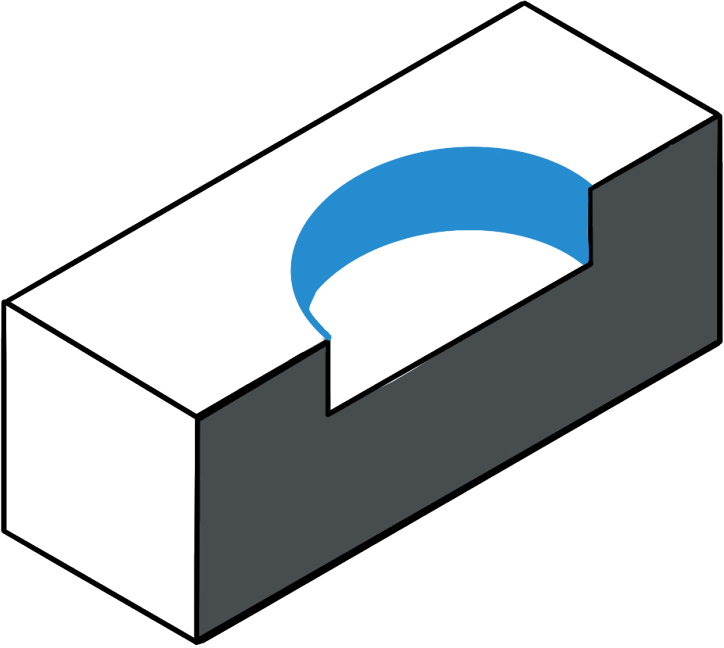
Blind holes are more susceptible to blockages than open ended holes. A minimum diameter of 1mm is recommended, with an increase of 0.5mm in diameter for every 10mm depth. (e.g. a 10mm hole should be at least 1.5mm wide).
Minimum: 1mm, Add 0.5mm per 10mm length
We encourage you to send your model to us before hollowing a part, as there are several reasons why following FDM parts can be counterproductive. However, it can be an effective solution for certain geometries, particularly if the model is designed without internal support structures.
Minimum Wall Thickness:
Small <100mm3: 2mm
Medium 200mm3: 3mm
Large 300 to 600mm: 4-5mm
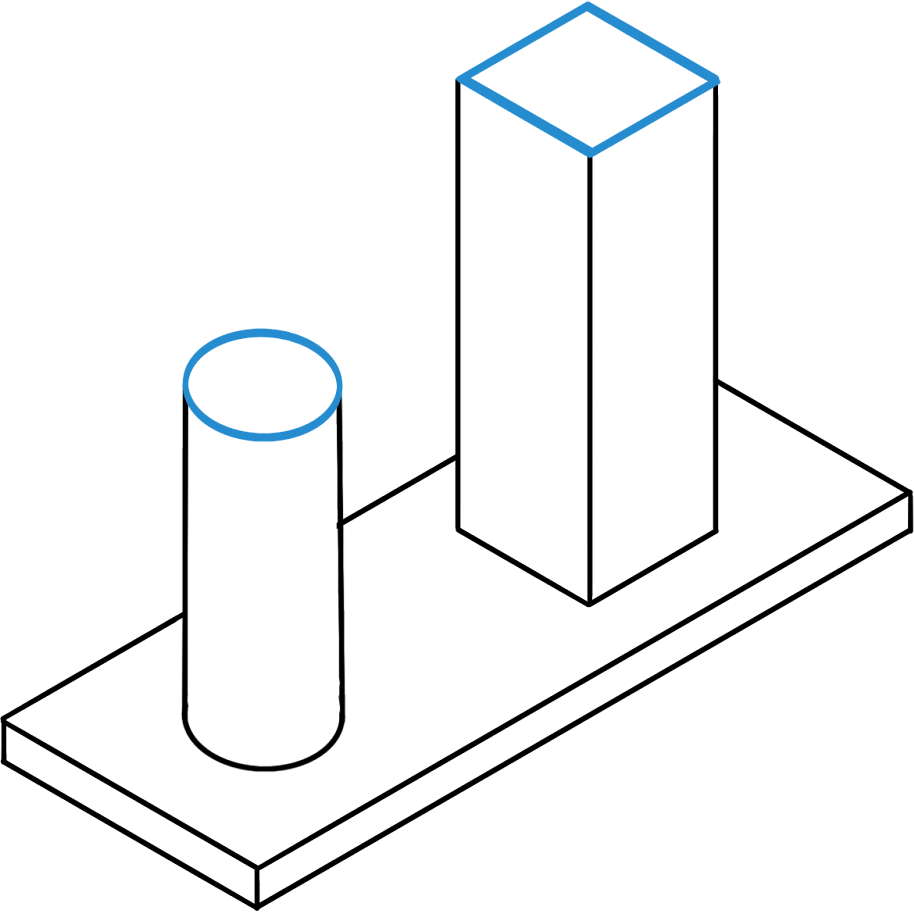
To ensure structural integrity, it’s recommended to maintain a minimum thickness of 1mm for posts up to 7mm long. For posts ranging from 7mm to 30mm, increase the thickness to 2mm, and for lengths exceeding 30mm, use at least 3mm thickness.
Minimum: 1mm
Lorem ipsum dolor sit amet, consectetur adipiscing elit, sed do eiusmod tempor incididunt ut labore et dolore magna aliqua. Ut enim ad minim veniam, quis nostrud exercitation ullamco laboris nisi ut aliquip ex ea commodo consequat. Duis aute irure dolor in reprehenderit in voluptate velit esse cillum dolore eu fugiat nulla pariatur. Excepteur sint occaecat cupidatat non proident, sunt in culpa qui officia deserunt mollit anim.
Lorem ipsum dolor sit amet, consectetur adipiscing elit, sed do eiusmod tempor incididunt ut labore et dolore magna aliqua. Ut enim ad minim veniam, quis nostrud exercitation ullamco laboris nisi ut aliquip ex ea commodo consequat. Duis aute irure dolor in reprehenderit in voluptate velit esse cillum dolore eu fugiat nulla pariatur. Excepteur sint occaecat cupidatat non proident, sunt in culpa qui officia deserunt mollit anim.
Lorem ipsum dolor sit amet, consectetur adipiscing elit, sed do eiusmod tempor incididunt ut labore et dolore magna aliqua. Ut enim ad minim veniam, quis nostrud exercitation ullamco laboris nisi ut aliquip ex ea commodo consequat. Duis aute irure dolor in reprehenderit in voluptate velit esse cillum dolore eu fugiat nulla pariatur. Excepteur sint occaecat cupidatat non proident, sunt in culpa qui officia deserunt mollit anim.
Lorem ipsum dolor sit amet, consectetur adipiscing elit, sed do eiusmod tempor incididunt ut labore et dolore magna aliqua. Ut enim ad minim veniam, quis nostrud exercitation ullamco laboris nisi ut aliquip ex ea commodo consequat. Duis aute irure dolor in reprehenderit in voluptate velit esse cillum dolore eu fugiat nulla pariatur. Excepteur sint occaecat cupidatat non proident, sunt in culpa qui officia deserunt mollit anim.